 |
| The Buckeye VOR DME C hold and approach pattern used in our training and tests |
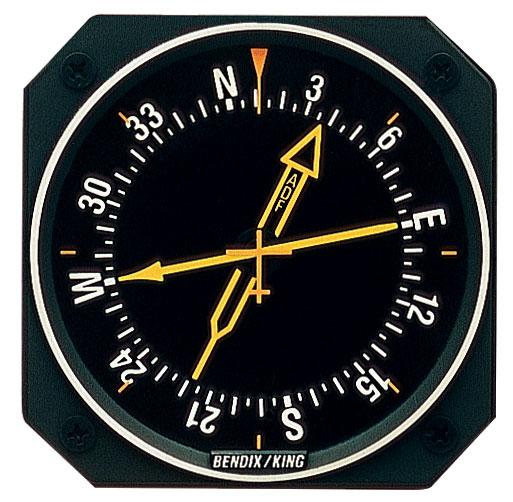
Instrument approaches pre-date all of those, and the essentials are simply the basic flight instruments, a nearby radio beacon, a radio instrument to pick it up and a printed chart of the approach procedure known as a plate.
And a lot of practice.
On the right you can see an approach plate, in this case to Buckeye Municipal Airport which is a tiny little public strip near our old base in Goodyear. This is a reasonably complicated plate, and there is a lot of jargon, but it is not as bad as it first looks.
The main part is simply a drawing of the procedure seen from above. It's not drawn to scale, but just gives the general picture. You arrive from wherever you like and fly to the little round symbol in the middle, which is a radio beacon. Then, you fly round and round the racetrack pattern until you are ready to approach and land. Next, you fly off five miles to the north west, descend a bit, turn around, descend a bit more, go back over the beacon and finally descend and head in the general direction of the runway on the right.
Underneath is a side view of the same approach, you can see that each part has a specific altitude. There is also a table that give the lowest altitude you are allowed to fly to as you approach the airport. If you still can't see the runway at this point, you must do the missed approach procedure. In this case, turn around to the left, climb, go back to the beacon and start flying round and round again.
Sounds easy enough, but regular readers will have already guessed the next part... it's not that simple. Firstly, we are flying a plane with sole reference to the instruments, taking care of radio communications and performing various check-lists at the same time. Secondly, interpreting these basic instruments is not easy. And thirdly there is the wind to make the whole thing even more confusing.
Probably the most difficult part of the procedure is entering and flying the hold — the little race track pattern in the middle. A hold is simply a way to get an aircraft to stay in the same place for a while (aircraft, unlike every other vehicle ever invented, are physically unable to stand still.) It's something we are practising a lot at the moment.
 |
| Three ways to enter a hold, depending on the direction you approach the beacon. |
The wind can make a right mess of this. If there is a cross wind component, you can correct for it on the way inbound by flying whatever heading keeps the needle pointing to the required ground track (the one on the plate). But to do this, you do need to get onto the correct track pretty early so you have time for the trial-and-error procedure required to find the heading. Confused? See blowing in the wind.
On the other three parts of the hold — the outbound leg and the two turns — you have no beacon to track to and hence no point of reference. In theory, if you needed a certain amount of correction on the inbound leg, say 5 degrees left, then you should need three times this amount on the outbound leg but in the other direction — 15 degrees right. This is because the wind is blowing you off course during both turns as well as the outbound leg, a total of three minutes of wind needs to be accounted for.
What you should end up with, after a few circuits, is a kind of egg-shaped pattern with the into-wind turn being tighter than the down-wind turn, and the outbound leg skewed to connect them together. What we tend to end up with is a right mess that looks like someone just dropped their knitting.
There is a lot more to it than this... there is the entry to the hold to get right, there are various 'gates' that are used to monitor your progress around the pattern and so on. I won't bore you with the whole lot, if you would like to find out more, here is a good explanation.
I have a couple more lessons to practice this on Monday before yet another progress test. Following this I have one final solo. That will be the last time I fly a single engine aeroplane on the course, as the following week we start on the Seneca. Apart from having two engines, it is fitted with retractable gear, variable pitch propellers, superchargers and flies about 50% faster than the Warrior. Twice as many knobs and levers and a lot less time to think!
I am also doing the APS upset recovery training course next week which should be an eye-opener. They use aerobatic Extra 300 stunt planes to explore all sorts of crazy flight attitudes and conditions from inverted to spins and of course how to get out of them.
It's going to be quite a week.
 |
| The next challenge; getting to grips with the Piper Seneca |


No comments:
Post a Comment
Comments are very welcome, but please no names!